Alain Galvan ·11/11/2018 6:30 AM · Updated 1 year ago
A review of image adjustment / effects shader logic found in Photoshop and other image editors and game engines. We'll discuss layer effects, filters, color correction, and how to include these effects in your own applications.
Tags: blogshaderglslhlslvulkandirectxopenglspir-vmetalphotoshoplayereffectslogic
Image processing effects used in image editors like Adobe Photoshop are used to composite different layers and adjust the overall appearance of an image. These effects build upon research in areas such as signal processing, statistics, and mathematical analysis, and applies them to visual effects and postprocessing. Let's review how some of the blend modes and effects found in image editors work.
You can find a number of sample shaders that feature these effects in my repository on Image Editor Shader.
At their core, blend modes are different functions ( B(Cb, C_s) ) used in the _color compositing formula: [Systems Incorporated 2018]
With simple variations on how alpha or values are interpreted.

A dissolve filter is dependant on a noise texture.
Dissolve is commonly used in deferred rendering as a way to reduce the number of samples of objects far away (such as the pattern dissolve of Grand Theft Auto V [Courrèges 2015] ), or as a way of simulating alpha such as the dither effect in Marmoset Toolbag.
//🔀 iq's random functions:
float rand(float seed)
{
return abs(fract(sin(seed) * 43758.5453123));
}
float rand(vec2 seed)
{
return rand(dot(seed, vec2(12.9898, 78.233)));
}
// 🥤 Dissolve
vec4 dissolve(vec4 col, vec4 blend, vec2 uv)
{
return vec4(mix(col.rgb, blend.rgb, blend.a > rand(uv) ? 1.0 : 0.0), col.a);
}
Darken will only decrease the brightness of areas where the brightness of the source image is higher than the overlaid image.
This can be useful as a way of only affecting the foreground of an image:
// 🌘 Darken
vec4 darken(vec4 col, vec4 blend)
{
return vec4(mix(col.rgb, min(col.rgb, blend.rgb), blend.a), col.a);
}
Lighten will only increase the brightness of areas where the brightness of the source image is lower than the overlaid image.
This can be useful to only affect the background of an image.
// 🌔 Lighten
vec4 lighten(vec4 col, vec4 blend)
{
return vec4(mix(col.rgb, max(col.rgb, blend.rgb), blend.a), col.a);
}
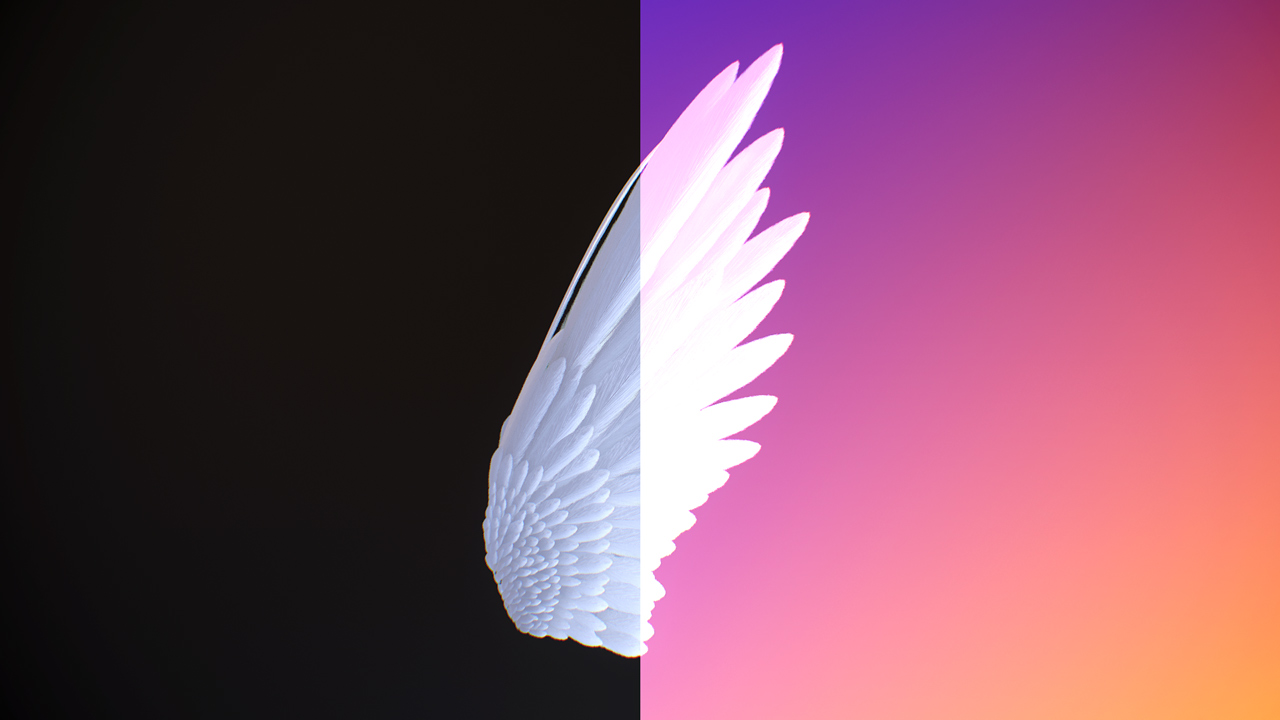
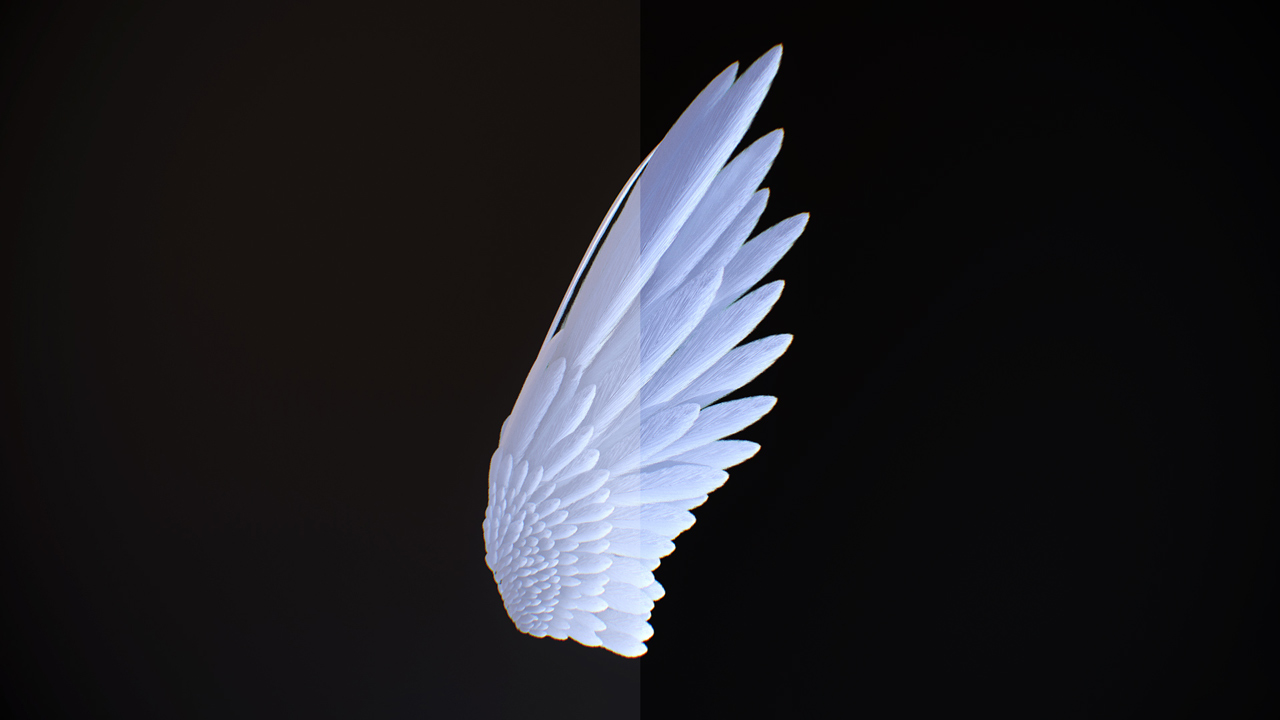
Named after the operation it performs, multiply results in darker images, since two numbers smaller than 1.0 multiplied together results in an even smaller number.
This is useful for recoloring grayscale images.
// ✴️ Multiply
vec4 multiply(vec4 col, vec4 blend)
{
return vec4(mix(col.rgb, col.rgb * blend.rgb, blend.a), col.a);
}
I'm using 0.00001 as an (\epsilon) epsilon value (approximately ( 1 / (2^16) ) ), which will work for most situations, though you'll want to change this to suit your target bitrate.
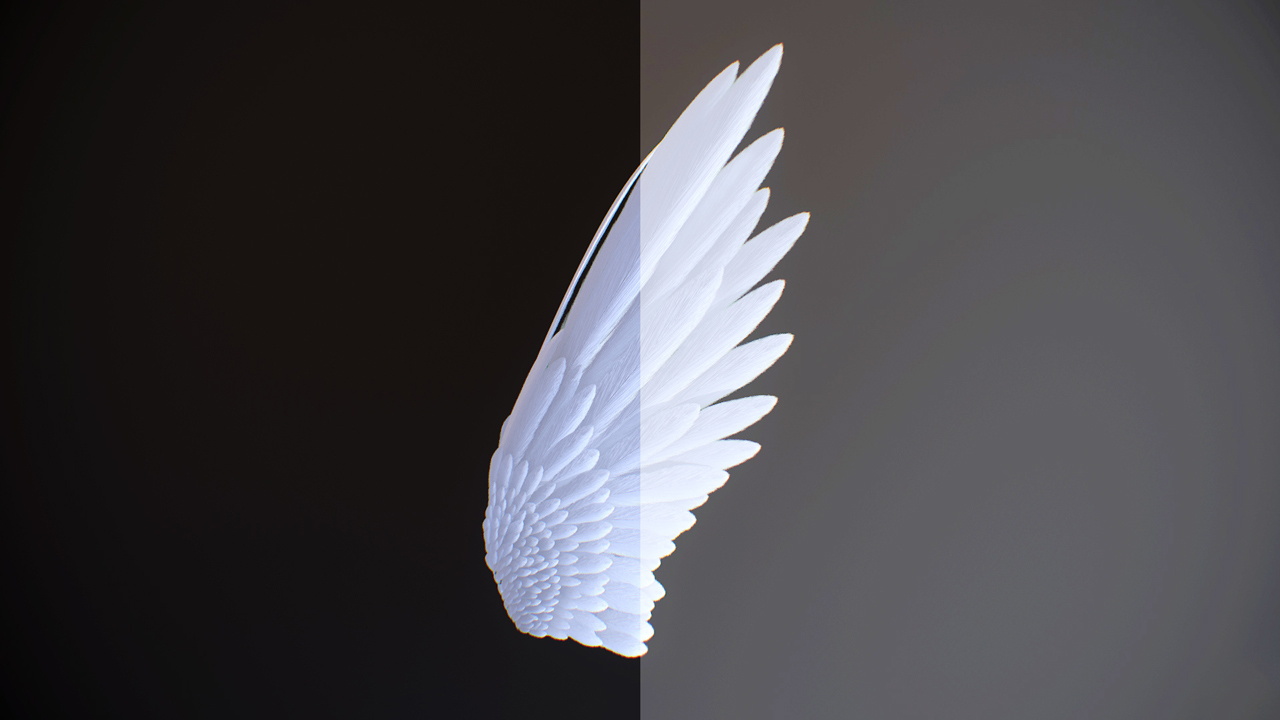
Division is great for making images brighter with dark inputs.
// 🗂️ Divide
vec4 divide(vec4 col, vec4 blend)
{
return vec4(mix(col.rgb, sign(blend.rgb) * col.rgb / clamp(blend.rgb, 0.00001, 1.0), blend.a), col.a);
}
Screen results in a gentle brightening of an image.
// 🔅 Screen
vec4 screen(vec4 col, vec4 blend)
{
return vec4(mix(col.rgb, 1.0 - (1.0 - col.rgb) * (1.0 - blend.rgb), blend.a), col.a);
}
Overlay results in a beautiful mix between dark and bright areas in an image.
This works great to give the source image some contrast.
// 🌦️ Overlay
vec4 overlay(vec4 col, vec4 blend)
{
vec4 outColor = vec4(0., 0., 0., col.a);
if (col.r > 0.5)
{
outColor.r = (1.0 - (1.0 - 2.0 * (col.r - 0.5)) * (1.0 - blend.r));
}
else
{
outColor.r = ((2.0 * col.r) * blend.r);
}
if (col.g > 0.5)
{
outColor.g = (1.0 - (1.0 - 2.0 * (col.g - 0.5)) * (1.0 - blend.g));
}
else
{
outColor.g = ((2.0 * col.g) * blend.g);
}
if (col.b > 0.5)
{
outColor.b = (1.0 - (1.0 - 2.0 * (col.b - 0.5)) * (1.0 - blend.b));
}
else
{
outColor.b = ((2.0 * col.b) * blend.b);
}
return mix(col, outColor, blend.a);
}
Color dodge tends to result in saturated bright areas.
// 🌅 Color Dodge
vec4 colorDodge(vec4 col, vec4 blend)
{
return vec4(mix(col.rgb, col.rgb / clamp(1.0 - blend.rgb, 0.00001, 1.0), blend.a), col.a);
}
Linear dodge functions as a simple addition of two colors, similar to to how lighting works in rendering engines.
// ☀️ Linear Dodge
vec4 linearDodge(vec4 col, vec4 blend)
{
return vec4(mix(col.rgb, col.rgb + blend.rgb, blend.a), col.a);
}
Color burn tends to result in saturated dark areas.
// 🕯️ Color Burn
vec4 colorBurn(vec4 col, vec4 blend)
{
return vec4(mix(col.rgb, 1.0 - (1.0 - col.rgb) / clamp(blend.rgb, 0.00001, 1.0), blend.a), col.a);
}
Linear burn is the equivalent of subtracting an image by another image, similar to linear dodge working as addition.
// 🔥 Linear Burn
vec4 linearBurn(vec4 col, vec4 blend)
{
return vec4(mix(col.rgb, max(col.rgb - (1.0 - blend.rgb), 0.0), blend.a), col.a);
}
Exclusion is a great way to help determine the difference between two images, as wraps around color spaces:
// 🥑 Exclusion
vec4 exclusion(vec4 col, vec4 blend)
{
return vec4(mix(col.rgb, 0.5 - 2.0 * (col.rgb - 0.5) * (blend.rgb - 0.5), blend.a), col.a);
}
Difference works similarly to exclusion and serves a similar function of determining the difference between two images:
// 👁️ Difference
vec4 difference(vec4 col, vec4 blend)
{
return vec4(mix(col.rgb, abs(col.rgb - blend.rgb), blend.a), col.a);
}
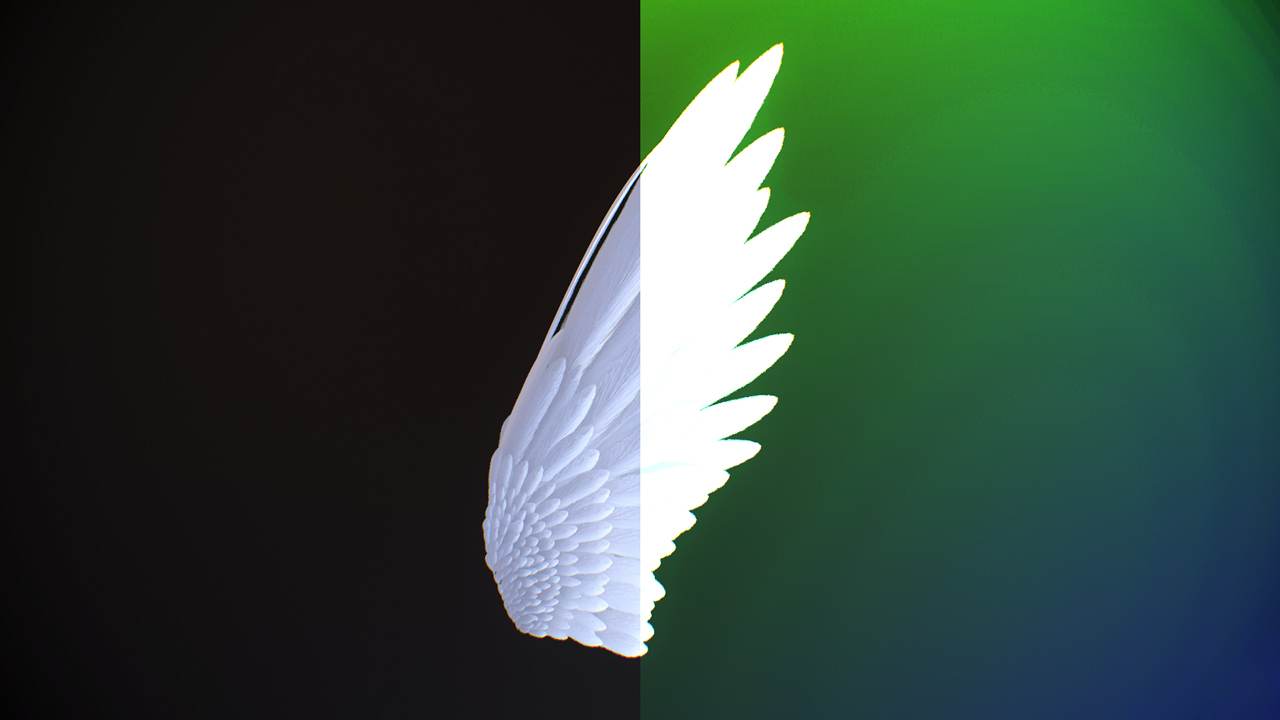
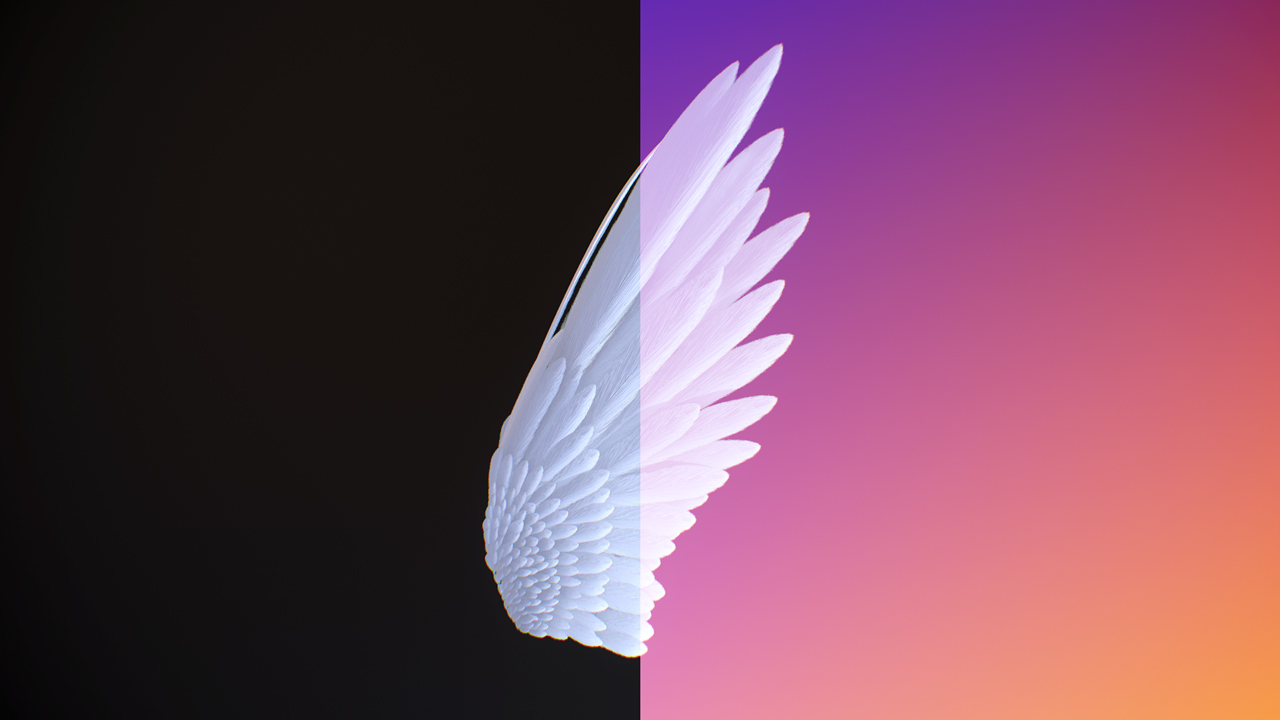
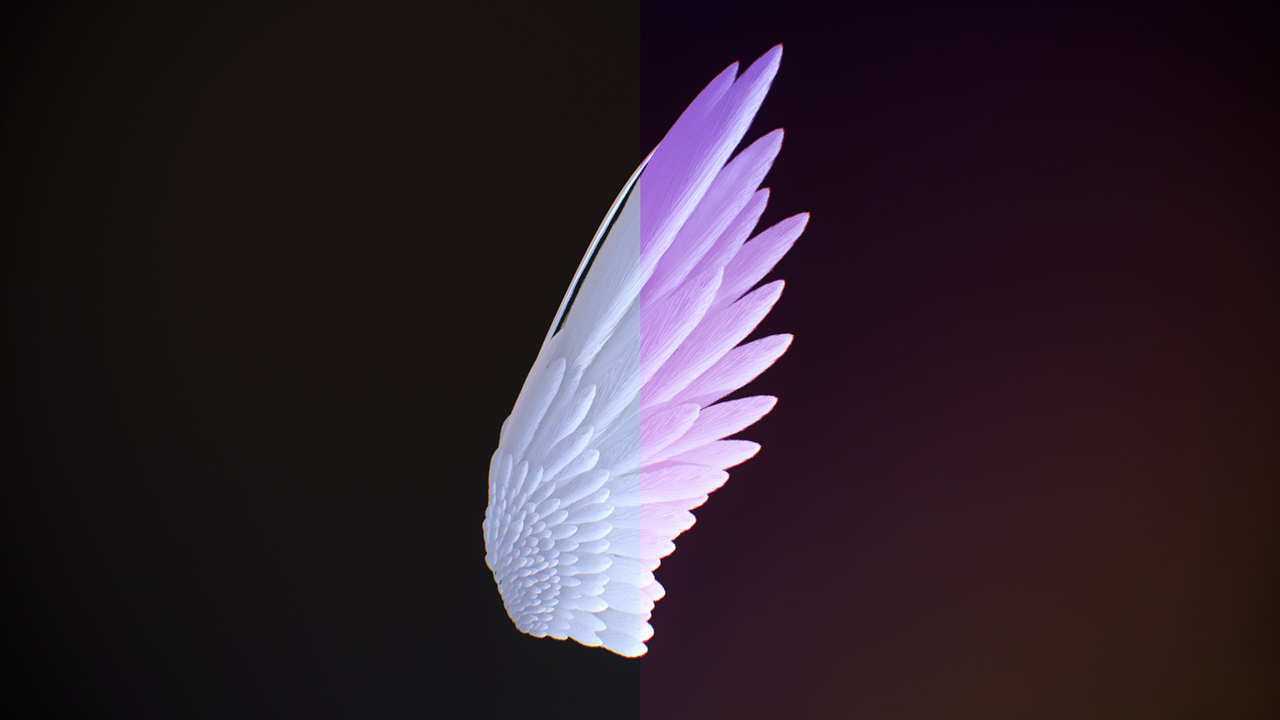
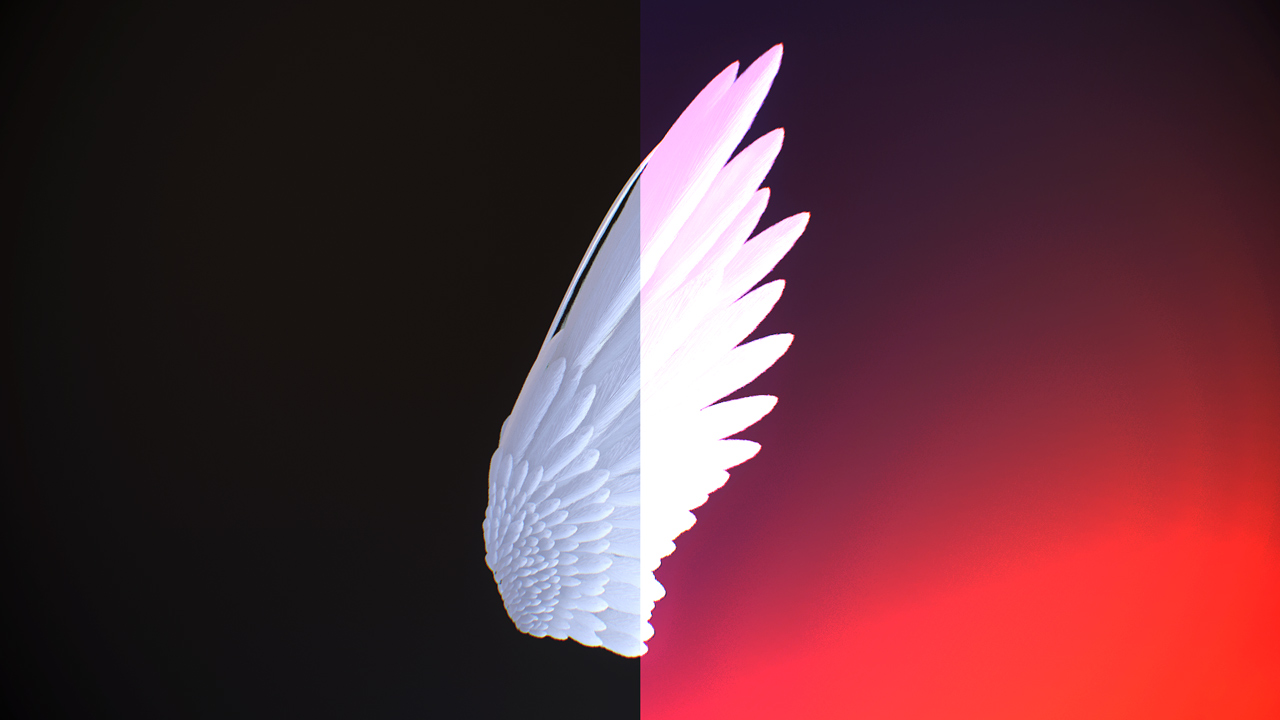
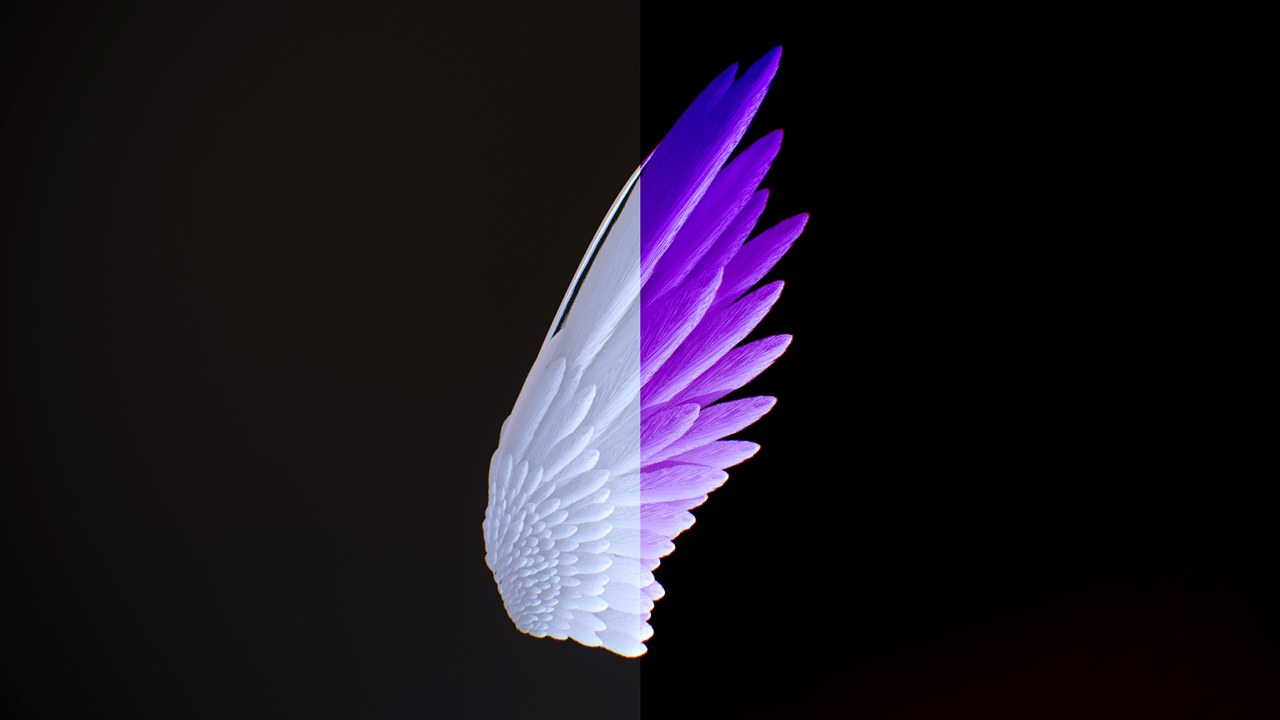
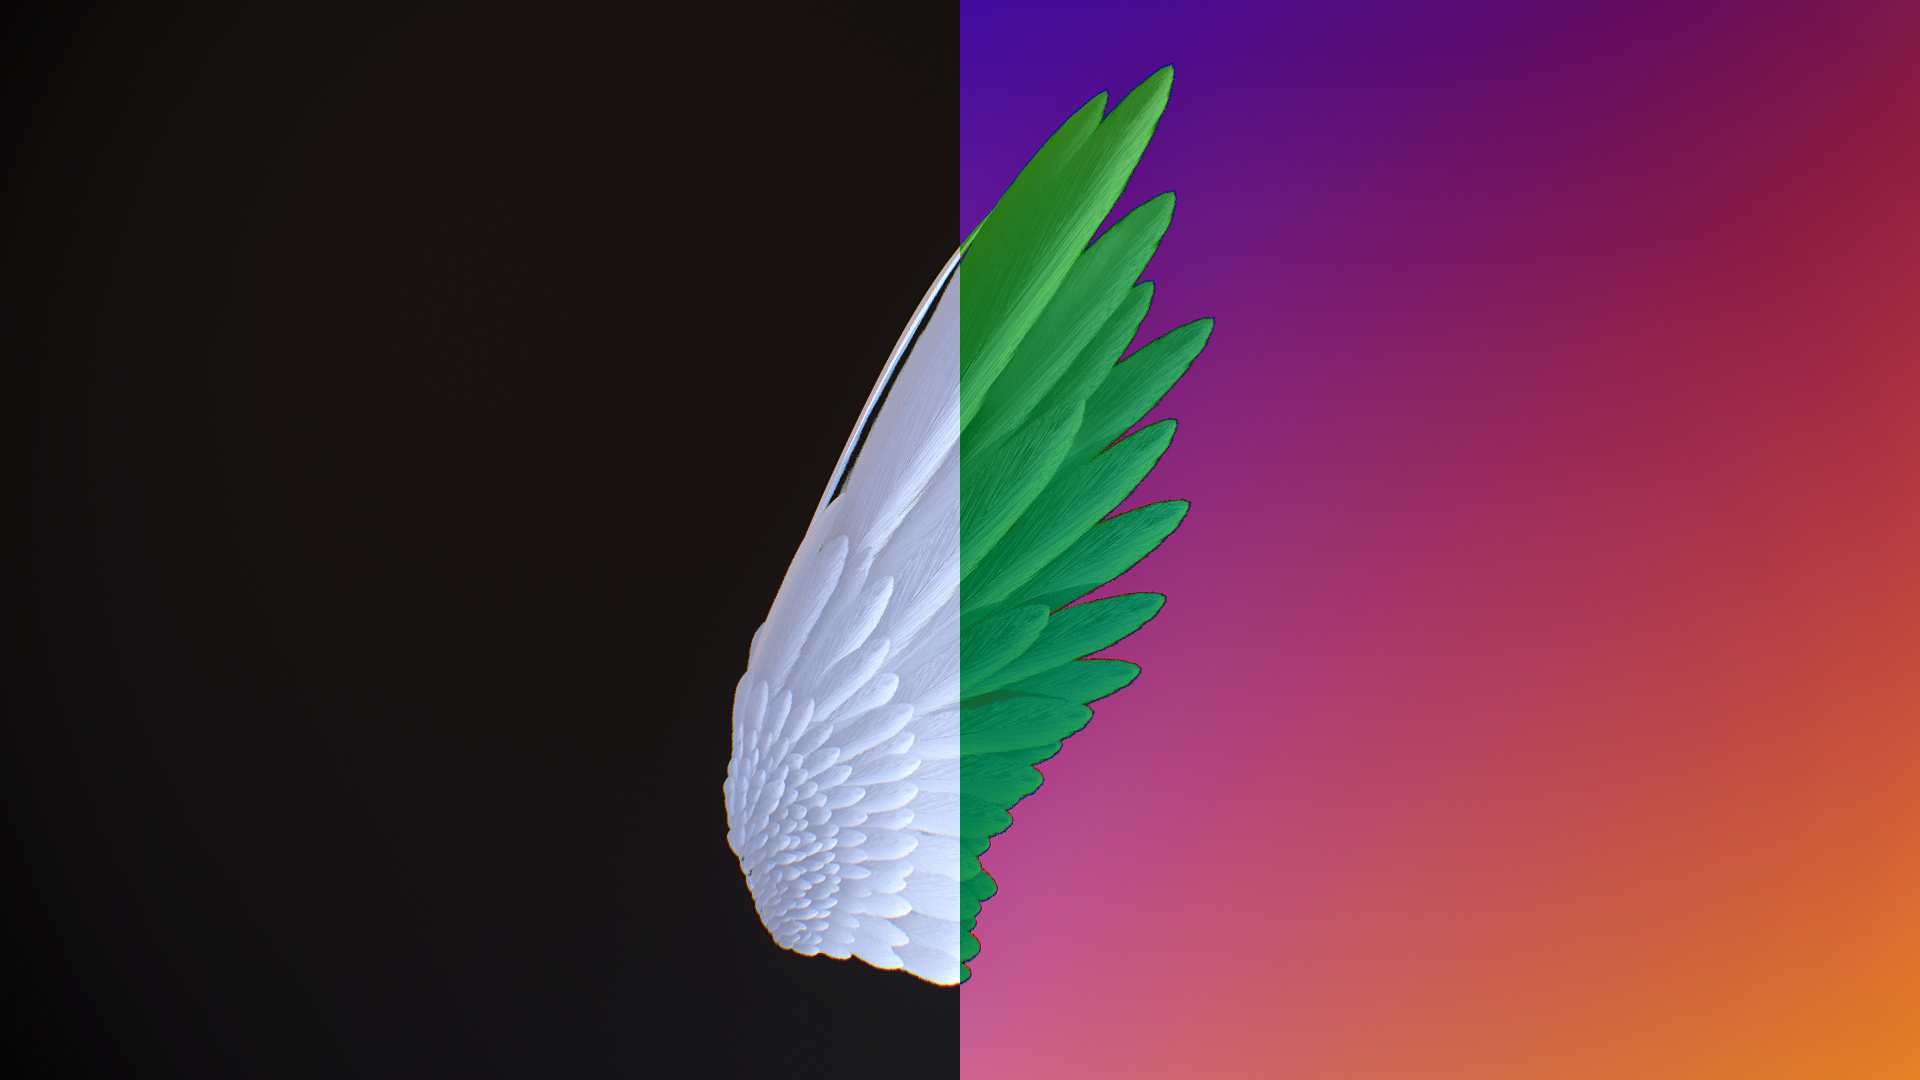
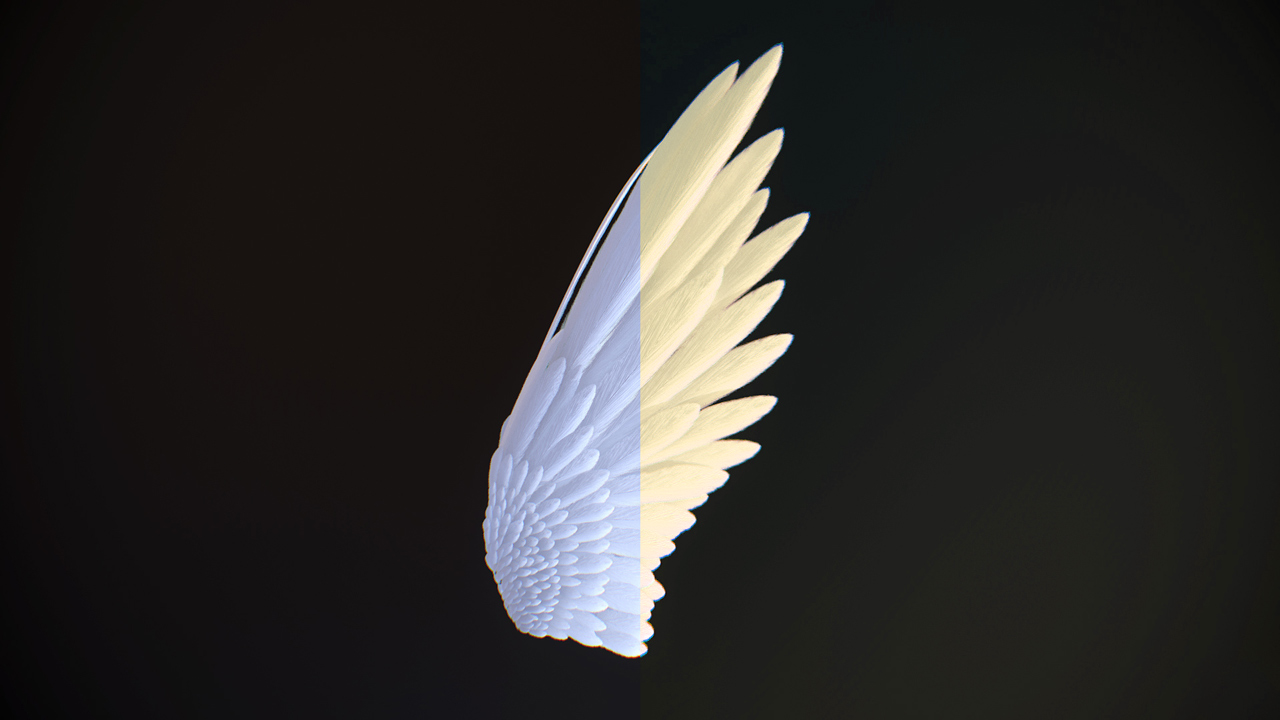
Color curves involves mapping the input image colors to a curve, represented in this case as a texture where the left is dark, and the right is bright. [Bjorke 2007]
For the example above, it uses a classic purple complementary colors curve, where green is low for dark colors, high for lights.
// ⤴️ Curves
vec4 curves(vec4 inColor, sampler2D texCurve)
{
return vec4(texture2D(texCurve, vec2(inColor.r, 0.5)).r, texture2D(texCurve, vec2(inColor.g, 0.5)).g, texture2D(texCurve, vec2(inColor.b, 0.5)).b, inColor.a);
}
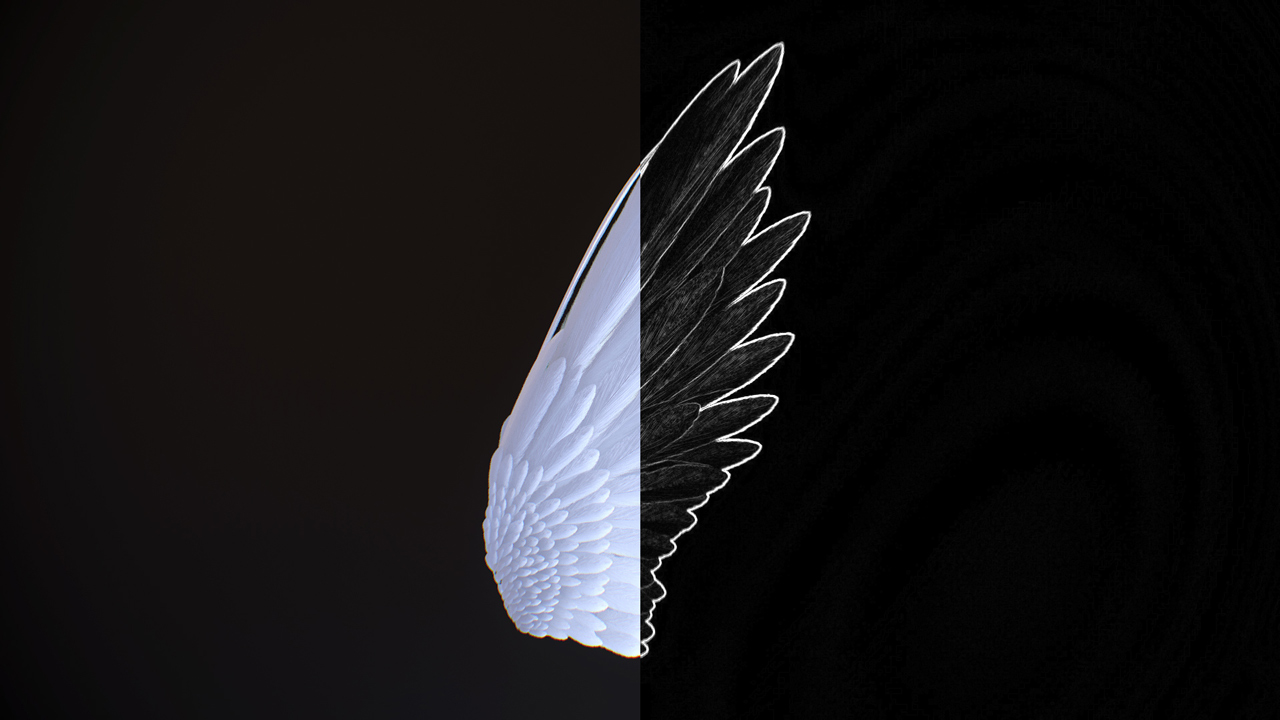
Levels are like curves, but are much more simple to control as they only require 3 parameters, a minima where everything below it is considered black, a maxima where values above are white, and a midpoint which can scale those ranges.
// 🏃♀️ Levels
vec4 levels(vec4 inColor, vec4 minima, vec4 midpoint, vec4 maxima)
{
vec4 range = max(abs(maxima - minima), 1.0 / 255.0);
vec4 col = (inColor - minima) / range;
float gamma = midpoint * 2.0;
if (gamma > 0.5)
{
gamma = (midpoint - 0.5) * 2.0;
}
col = pow(col, 1.0 / gamma);
return clamp(col, vec4(0.0, 0.0, 0.0, 0.0), vec4(1.0, 1.0, 1.0, 1.0))
}
Brightness and Contrast are used to help increase or decrease the overall spread of colors in an image.
// 💡 Brightness / Contrast
vec4 brightnessContrast(vec4 inColor, float brightness, float contrast)
{
return vec4((inColor.rgb - 0.5) * contrast + 0.5 + brightness, inColor.a);
}
Gamma is a basic power function.
It's often used as a way of converting between linear and sRGB encoded colors ( linear to sRGB is ( \gamma \approx 2.2 ), sRGB to linear is ( \gamma \approx \dfrac12.2 ) ), as textures loaded into graphics programs are read as linear. It's also used as a way to control the exposure of a final image.
// γ Gamma
vec4 gamma(vec4 inColor, float g)
{
return vec4(pow(abs(inColor.rgb), g), inColor.a);
}
It may be necessary to convert an image to a different working space, such as hue / saturation / lightness, to better control the image. There also exists other image spaces such as XYZ space, Yuv, etc. that may be worth looking into.
/*
* Max, Min Functions.
*/
float maxCom(vec4 col)
{
return max(col.r, max(col.g,col.b));
}
float minCom(vec4 col)
{
return min(col.r, min(col.g,col.b));
}
/*
* Returns a vec4 with components h,s,l,a.
*/
vec4 rgbToHsl(vec4 col)
{
float maxComponent = maxCom(col);
float minComponent = minCom(col);
float dif = maxComponent - minComponent;
float add = maxComponent + minComponent;
vec4 outColor = vec4(0.0, 0.0, 0.0, col.a);
if (minComponent == maxComponent)
{
outColor.r = 0.0;
}
else if (col.r == maxComponent)
{
outColor.r = mod(((60.0 * (col.g - col.b) / dif) + 360.0), 360.0);
}
else if (col.g == maxComponent)
{
outColor.r = (60.0 * (col.b - col.r) / dif) + 120.0;
}
else
{
outColor.r = (60.0 * (col.r - col.g) / dif) + 240.0;
}
outColor.b = 0.5 * add;
if (outColor.b == 0.0)
{
outColor.g = 0.0;
}
/*else if (outColor.b == 1.0)
{
outColor.g = 0.0;
}*/
else if (outColor.b <= 0.5)
{
outColor.g = dif / add;
}
else
{
outColor.g = dif / (2.0 - add);
}
outColor.r /= 360.0;
return outColor;
}
/*
* Returns a vec4 with components r,g,b,a, based off vec4 col with components h,s,l,a.
*/
float hueToRgb(float p, float q, float h)
{
if (h < 0.0)
{
h += 1.0;
}
else if (h > 1.0)
{
h -= 1.0;
}
if ((h * 6.0) < 1.0)
{
return p + (q - p) * h * 6.0;
}
else if ((h * 2.0) < 1.0)
{
return q;
}
else if ((h * 3.0) < 2.0)
{
return p + (q - p) * ((2.0 / 3.0) - h) * 6.0;
}
else
{
return p;
}
}
/*
* Returns a vec4 with components r,g,b,a, based off vec4 col with components h,s,l,a.
*/
vec4 hslToRgb(vec4 col)
{
vec4 outColor = vec4(0.0, 0.0, 0.0, col.a);
float p, q, tr, tg, tb;
if (col.b <= 0.5)
{
q = col.b * (1.0 + col.g);
}
else
{
q = col.b + col.g - (col.b * col.g);
}
p = 2.0 * col.b - q;
tr = col.r + (1.0 / 3.0);
tg = col.r;
tb = col.r - (1.0 / 3.0);
outColor.r = hueToRgb(p, q, tr);
outColor.g = hueToRgb(p, q, tg);
outColor.b = hueToRgb(p, q, tb);
return outColor;
}
So a gradient is made of a series of 1D points. Each point has a color, and depending on the tool, can also include a center point, an easing function, as well as a pair of 2D points where the gradient originates.
Let's start with the simplest gradient type, a horizontal linear gradient:
// ⛰️ Gradient (Horizontal)
vec4 gradientU(vec2 uv, vec4 colora, vec4 colorb)
{
return mix(colora, colorb, uv.x);
}And now let's expand that by letting you control the angle (in radians) of the gradient:
// 🚞 Gradient (Angle)
vec4 gradientAngle(vec2 uv, vec4 colora, vec4 colorb, float angle)
{
vec2 rotation = vec2(cos(angle), sin(angle));
return mix(colora, colorb, dot(uv, rotation));
}Now let's make that two points in UV space:
// 🚠 Gradient (Points)
vec4 gradientPoints(vec2 uv, vec4 colora, vec4 colorb, vec2 p1, vec2 p2)
{
vec2 dir = p2 - p1;
float angle = atan(dir.x, dir.y);
vec2 rotation = vec2(cos(angle), sin(angle));
return mix(colora, colorb, dot(uv, rotation) * length(dir));
}And now let's make a radial gradient:
// ⭕ Gradient (Radial)
vec4 gradientRadial(vec2 uv, vec4 colora, vec4 colorb, vec2 p1, vec2 p2)
{
vec2 center = p2 - p1;
return mix(colora, colorb, dot(uv, center) * length(center * 2.0));
}
A Gaussian blur is an average of all colors around a given point. It's useful to make an image appear unclear, however it's also quite expensive.
Often times the gaussian blur you see in real time rendering is an approximation, a 3x3 Gaussian Blur.
// 👓 3x3 Gaussian Blur
vec4 gaussianBlur3x3(vec2 uv, sampler2D tex, float r)
{
vec4 outColor = texture2D(img, uv);
for(int y < -1; y < 2; ++y)
{
for(int x < -1; x < 2; ++x)
{
vec2 offset = vec2(float(x), float(y)) * r;
outColor += texture2D(tex, uv + offset);
}
}
outColor *= 1.0 / 10.0;
return outColor;
}![]()
Pixelation is often used as a transition effect or to emulate a sprite like image in a 3D space. One place it was used tastefully was in the PS4 remake of Rachet and Clank.
// 🔲 Pixelate
vec4 pixelate(vec2 uv, sampler2D tex, int r)
{
ivec2 texSize = textureSize(tex, 0);
uv *= texSize / r;
uv = floor(uv);
uv /= texSize / r;
vec4 outColor = texture2D(tex, uv);
return outColor;
}
Sobel is a basic edge detection algorithm. It's often used to generate outlines for objects in combination with a depth/stencil buffer.
// ✏️ 3x3 Sobel
vec4 sobel(vec2 uv, sampler2D tex, vec2 pixelSize, float r)
{
vec4 outColor = vec4(0.0, 0.0, 0.0, 1.0);
vec4 center = texture2D(tex, uv);
for(int xx = -1; xx < 2; ++xx)
{
for(int yy = -1; yy < 2; ++yy)
{
float dif = length(center - texture2D(tex, uv + pixelSize * vec2(float(xx), float(yy))));
outColor.xyz += dif;
}
}
return outColor;
}
Sharpen amplifies difference between colors across edges. Similar to sobel, it works by detecting differences in neighboring samples.
// 🗡️ 3x3 Sharpen
vec4 sharpen(vec2 uv, sampler2D tex, vec2 pixelSize, float weight)
{
vec4 outColor = texture(tex, uv);
vec3 diffSum = vec3(0.0, 0.0, 0.0);
for(int xx = -1; xx < 2; ++xx)
{
for(int yy = -1; yy < 2; ++yy)
{
vec3 dif = outColor.xyz - texture(tex, uv + pixelSize * vec2(float(xx), float(yy))).xyz;
diffSum += dif;
}
}
diffSum /= 9.0;
outColor.xyz = outColor.xyz + (weight * diffSum);
return outColor;
}Post-processing techniques such as layer effects, color correction, and filter effects are one of the many pillars of image editing and authoring software such as PhotoShop, Gimp, etc. While this article reviews most effects, there's still a number of other effects that weren't mentioned here such as:
High Dynamic Range (HDR) to Low Dynamic Range (LDR) conversion, Renderstuff.com features a blog post detailing this.
Noise Generation, I wrote a separate blog post about this.
Perceptual Gradients, Björn Ottosson (@bjornornorn) wrote a blog post detailing the Oklab color space gradient and compares with with other color space gradients.
Steven Hill (@self_shadow) details how to approach blending normals in his blog post: Blending in Detail.
And much more, falling into the domains of statistical analysis, signal processing, computer graphics, and much more.
| [Systems Incorporated 2018] |
| [Courrèges 2015] |
| [Bjorke 2007] |