Alain Galvan ·3/25/2021 8:01 PM · Updated 2 years ago
A introduction to writing plugins with Marmoset Toolbag. Learn tips and tricks to configure your development setup as we go over examples of different use cases for writing a Toolbag Plugin.
Tags: blogmarmosettoolbagglslpythoncpp
GitHub Comments
Developing Marmoset Toolbag plugins with Python can be challenging. There's important questions that you may need to solve like:
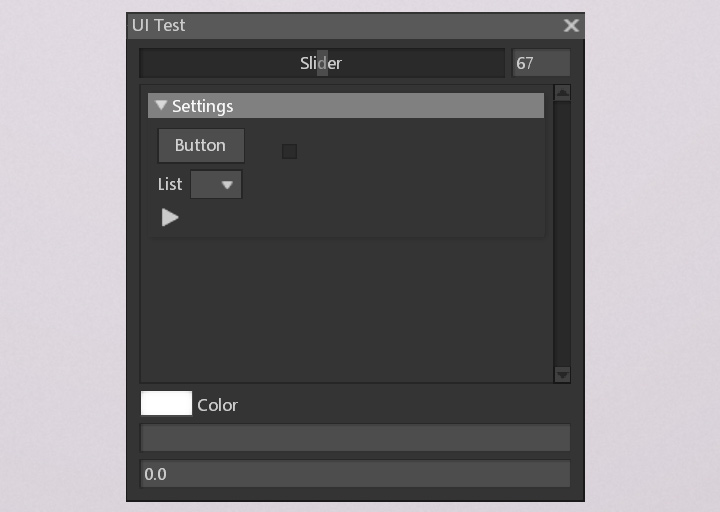
How do you design UIs?
How do you import models and textures?
How do you export data like renders, materials, etc.
How do you configure a material, texture project, or your render settings?
How do you use external packages from PyPi?
With the advent of text editors such as Microsoft Visual Studio Code, AI assisted auto complete with Visual Studio IntelliCode, and language servers such as PyLance, iterating your plugin's design can be very intuitive, and the questions you might have about a given piece of software's API can be more easily answered by the text editor's auto-complete in addition to our documentation and examples.
Editor Setup
First, download Visual Studio Code with the link below:
Then, install the latest version of Python to your computer. Marmoset Toolbag is designed to run on Python 3.6 and above. Make sure to add Python to your environment variables in the advance options.
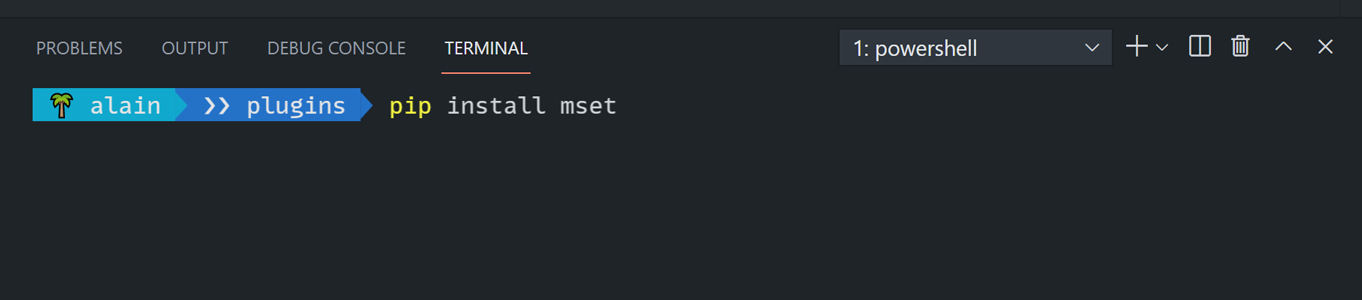
From there you'll need to install python packages from the Python Package Index via the pip command. You will need the Marmoset Toolbag package mset for auto-complete support as well as remote execution.
Linting is checking your code early for mistakes and let you know early where those mistakes are and how to fix them. There's a number of different packages available for linting. The Visual Studio Code team discusses the differences between different linters here.
Visual Studio Code will present you with an option for them to download a linter for you, but if that option doesn't work you can always open up the terminal with CTRL + Shift + ~ and type the following:
pip install pylint
Finally, install the PyLance Visual Studio Code extension as well as Intellicode:
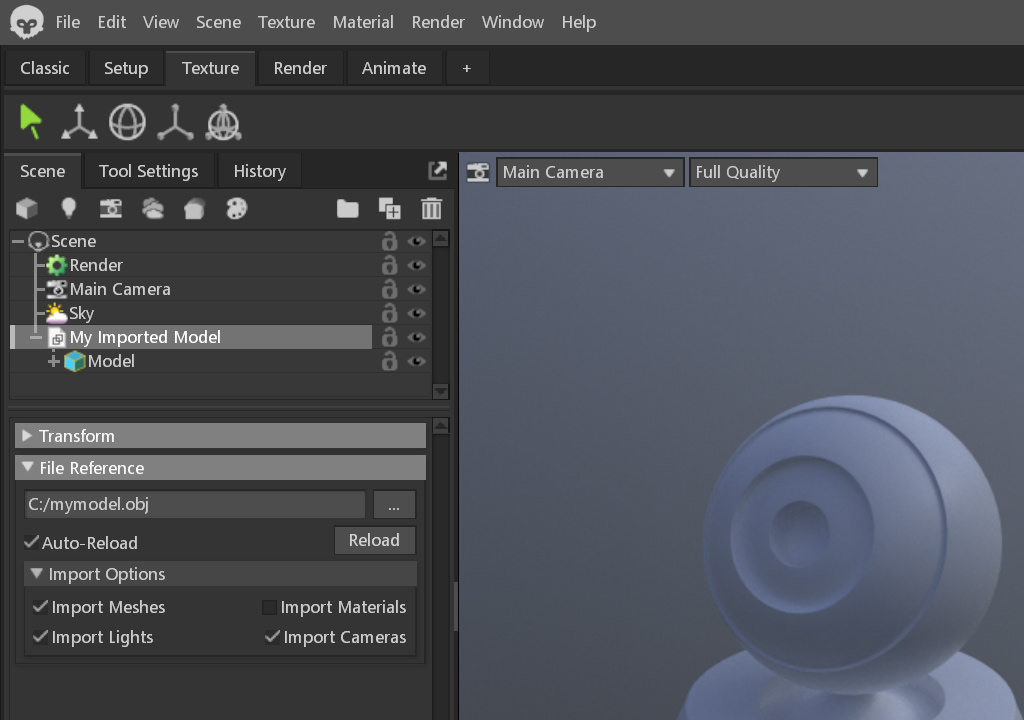
Perhaps you're automating rendering a number of different models, or have a lot of models that need to be batch imported from different places. The mset.importModel(path: str) function is all you need to do to import a model to your scene. From there you can move it around by changing its position, or make it a child of something like say a Baker's Source children.
import mset

# 🏆 Model
model = mset.importModel("C:/mymodel.obj")
model.name = "My Imported Model"
model.position = [0.0, 2.0, 0.0]
Configuring Objects
There's a variety of different Objects you may want to configure in Marmoset Toolbag, let's go over a couple:
Materials
Materials can be configured to use a specific subroutine, and every parameter that exists can be modified to your liking.
import mset

# Create a Material
mat = mset.Material()

# 🔖 Set a subroutine
mat.setSubroutine("reflectivity", "Metalness")

# 🎛️ Edit a subroutine parameter
surface = mat.getSubroutine("surface")
tex = mset.Texture("C:/my_normal.png")
surface.setField("Normal Map", tex)
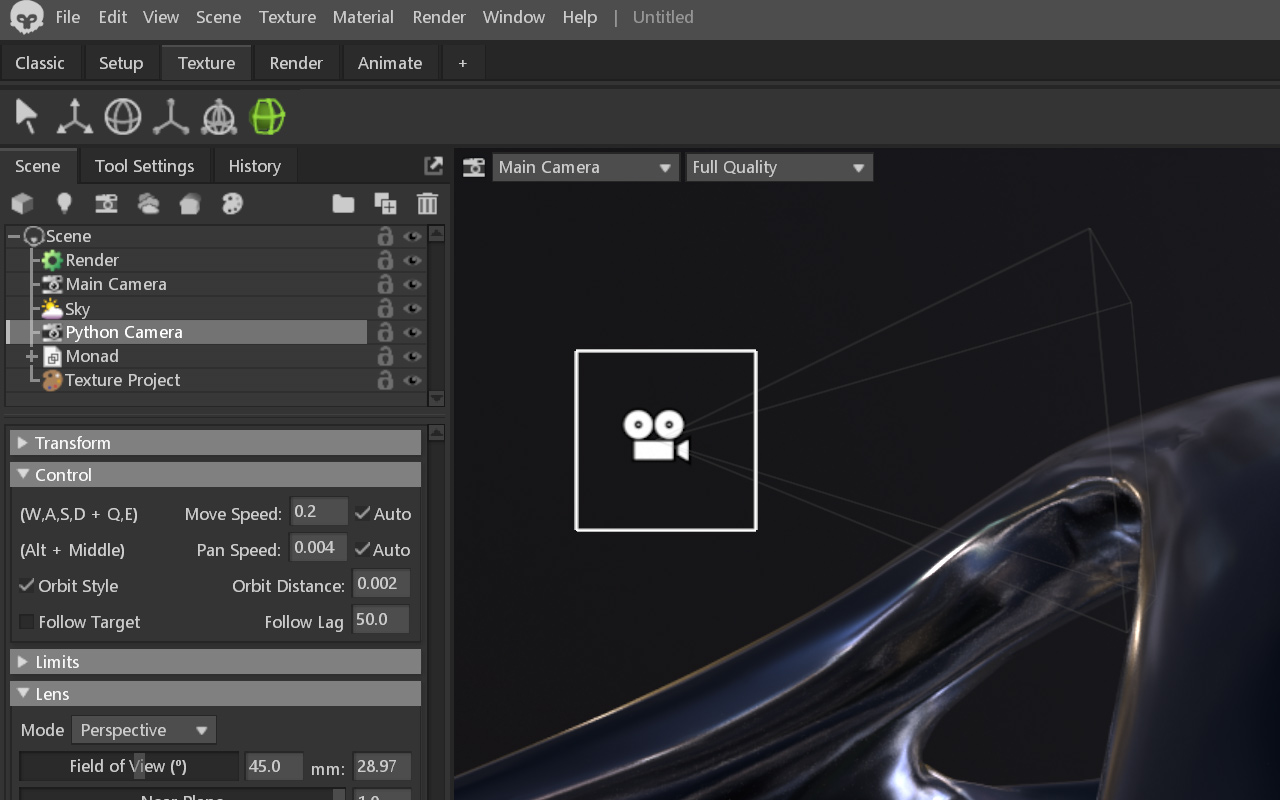
Cameras
All cameras in Toolbag can be controlled with Python, and you can adjust their transform parameters like their rotation, as well as lens settings like the camera limits (near, far), depth of field, post-processing.
Exporting renders is incredibly easy, there's 3 functions you can use to either render a single camera, or the images/video configuration set up in your Render Object.
import mset

# 📷 Render Main Camera
img = mset.renderCamera(path='C:/my_render.png')

# 📸 Render all images configured in the Render Object
mset.renderImages()

# 🎥 Render all videos configured in the Render Object
mset.renderVideos()
Using External Packages
Marmoset Toolbag PluginS can take advantage of the entire Python Package Index and use that ecosystem to help solve problems like hooking Toolbag up to an HTTP server such as Flask or to a machine learning framework such as PyTorch or TensorFlow.
A Toolbag Plugin that uses PyPi packages needs to have its files laid out as follows:
Your requirements.txt would be a text file like the following:
LinearAlgebra==1.4.1
The __main__.py file would serve as the entry point to the plugin, and similar to other Python modules, you can have any file/folder structure you want.
Conclusion
There's a lot more you can do with Marmoset Toolbag plugins than what we've discussed, from procedural generation of geometry to automating your baking, rendering, or technical art workflows.
For more examples of just what you can do, visit the Examples folder in your Toolbag installation:
The procedural meshes were done using a library I wrote called Strange Attractors.
More general topics:
There's Visual Studio plugins for relevant tasks you may want to do in Toolbag such as custom shaders. We would recommend the GLSL Lint plugin for linting GLSL shader code.
The Theme used for Visual Studio Code in this blog post is called Github Dark Classic.
The font used in this example was MonoLisa with ligatures enabled. For a free option that's similar try Fira Code.
The Windows Powershell terminal was styled using Oh My Posh, which works on all platforms.
 Alain Galvan ·3/25/2021 8:01 PM · Updated 2 years ago